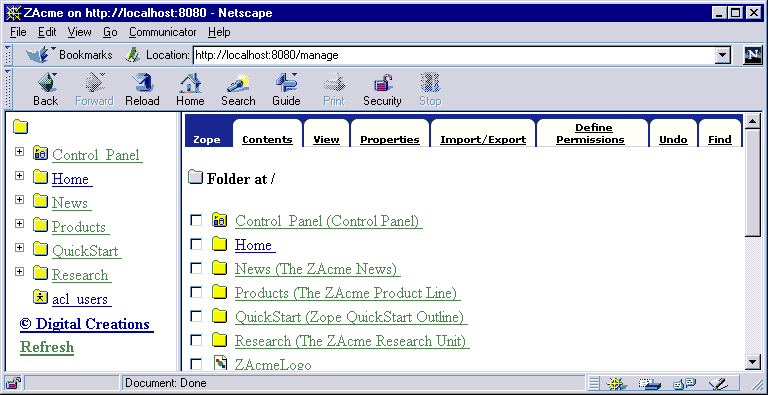
Home folder under root

Stan is having fun, now, and wonders if he can automate the simple website application. It may be advantageous to re-create the application for other departments. We can copy and paste the Home folder, but then we would have to manually edit properties and upload a new image each time we made a copy. A simpler method is to automate this process by creating a configuration interface. A minimal configuration interface consists of a document that displays a form to collect configuration information and a document that uses DTML scripting to copy the folder and apply the new configuration.
Thus, the original application object serves as a template for creating new applications. While scripts could be written to build an object from scratch, it is often easier to start with an existing object, which is used as a template. The use of properties in the original application make the customizing task easier.
To illustrate the use of Zope applications, we will create a very simple website application. In the root folder of your Zope application, create a new Folder called Home (figure 20).
The Home folder will need some properties that we are interested in. Enter the Properties View of the Home Folder and add the following properties:

|

|
In the Home Folder, create a DTML method named index_html. Edit the index_html and place in the copy of the home page we created in the previous section. You can copy and paste your previous DTML or type in this one:
<dtml-var standard_html_header>
<h2><dtml-var company_name></h2>
<p>For more information, contact us at <em>
<dtml-var standard_html_footer>
To create a configuration interface for our simple website application, we need to create a Product. Go to the Control Panel and select "add Product". Name the "product id" InstantSite with the "title" Instant Site Web Site Builder in Figure 22.

|
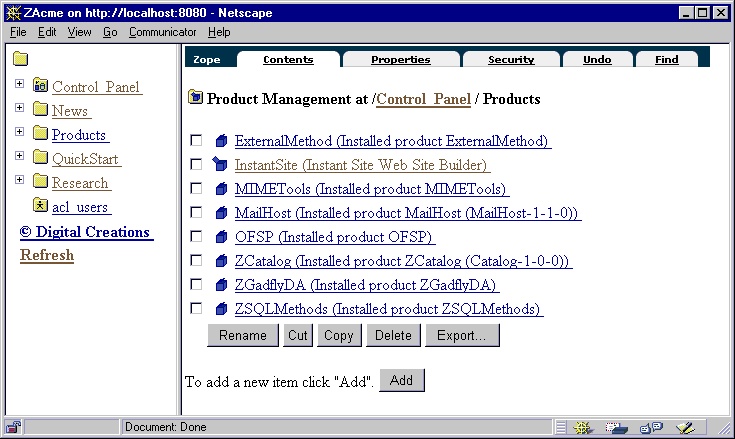
On the navigation frame, click on the Control Panel. Figure 23 shows the Control Panel with the product InstantSite. The icons next to the product indicate whether the products were external or internal. The open product icon indicates the internal product Phil created.

|
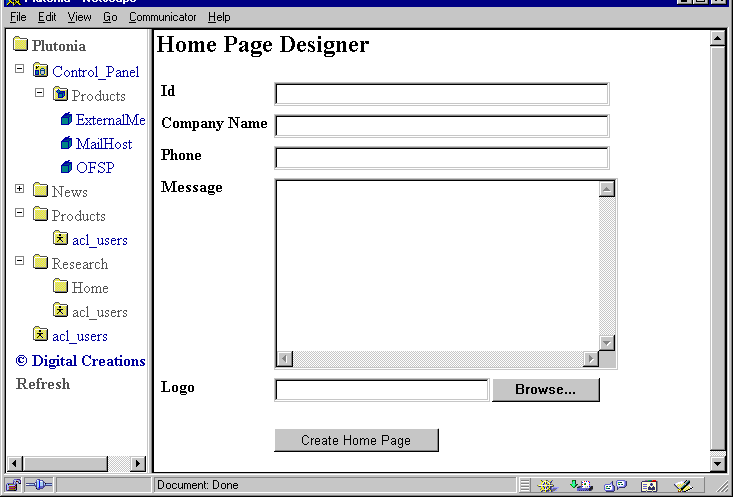
Under the InstantSite product folder, add a DTML Method that displays a form prompting for information about the company. Figure 24 shows the source for a DTML Method, Designer . Add the method, name it " Designer ", then cut and paste the source shown in figure 24. .
The form that is created with the DTML source is displayed in Figure 25

|
The form collects the configuration information that will be applied to the copied version of the Home folder.3
Let's go through the Builder script step by step. After the insertion of the standard header, there is a with tag that evaluates an expression involving manage_clone.
The Folder method manage_clone allows an object to be copied into a folder with a given id. In the expression in Figure 26, the manage_clone method is being invoked on the Folder in which the builder is run. The object being cloned is the template object, Home.
The new id is given by the expression REQUEST['new_id']. This expression is used to make sure that the id collected by the Designer form is used, rather than the id of the folder. The manage_clone method returns the object clone, which allows the object to be manipulated within the with tag.
Inside the with tag, the manage_changeProperties method is called on the newly cloned object to replace original property values with values from the request. The manage_upload method of the logo of the cloned object is called to supply a new logo image from the image provided in the Designer form. This completes the configuration of the new home page.
The action of the Designer form is another DTML Method, Builder, that uses DTML scripting to copy the original home page folder and apply the customization. As shown in Figure 26, the source for Builder sets the properties of the Home folder to the properties defined by Designer.
After the with tag, the redirect method is called on the RESPONSE object to redirect the browser to the Contents view of the destination folder. A query string, "?update_menu=1" is provided to cause the navigation pane to be updated too.
Finally, a message is output indicating success. Note that the text of the success message, as well as the text output by the standard header and footer is not output unless, for some reason, the browser ignores the redirection or shows the output followed by the redirection.
To use the simple website application as a template, the original Home folder along with the configuration objects must be accessible by other folders, such as through acquisition. By turning the website application into a Zope product, however, we avoid filling up top-level folders, while at the same time making the website application accessible to all folders. As product HomeSite, a new website could be added to almost any folder.
Previous Chapter | Next Chapter | Up | Next Section | Contents