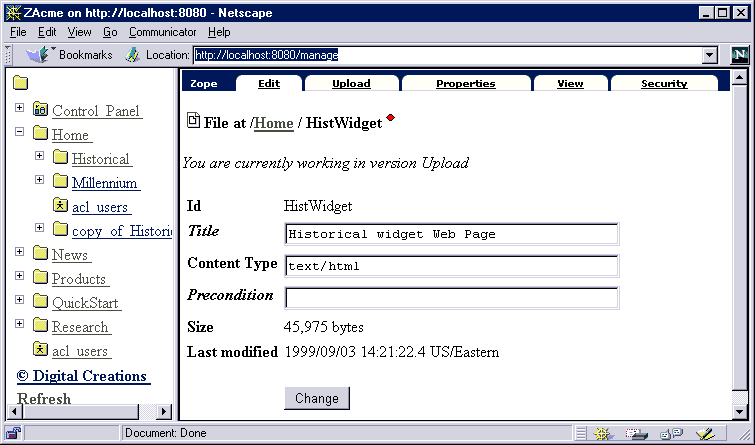
Stan decides to upload HTML files he has created into this new file. He has two choices. First, he can upload the file when he creates the file with the "Browse" button. His second choice is to create the empty file and upload using the "Upload" view (Table 41). To upload new data, click on the "Upload" tag, then click the "Browse..." button to select the file to upload, and click "Change."
File Edit with Content Type
File Upload
Stan enters
HistWidget
as is "id" and
Historical Widget Web Page
as the "title" for his file. When added, the content text of the file is shown as unknown. When changing to the "Upload" view, Stan can browse his hard drive and select his html file. After uploading the html file, the "Content Type" automatically updates to reflect the type of file (Table 42).